
As promised here is a brief boys collar tutorial.
I used this tutorial from Little Kids Grow to get started with the one piece placket.
I used a collared shirt that I already had for a basic pattern. However, you can just use the shirt that you are adding the collar to as a reference for size. You want the collar to come all the way around to the edge of the placket and the collar stand to cover the placket (the stand is longer than the collar).
here we go…
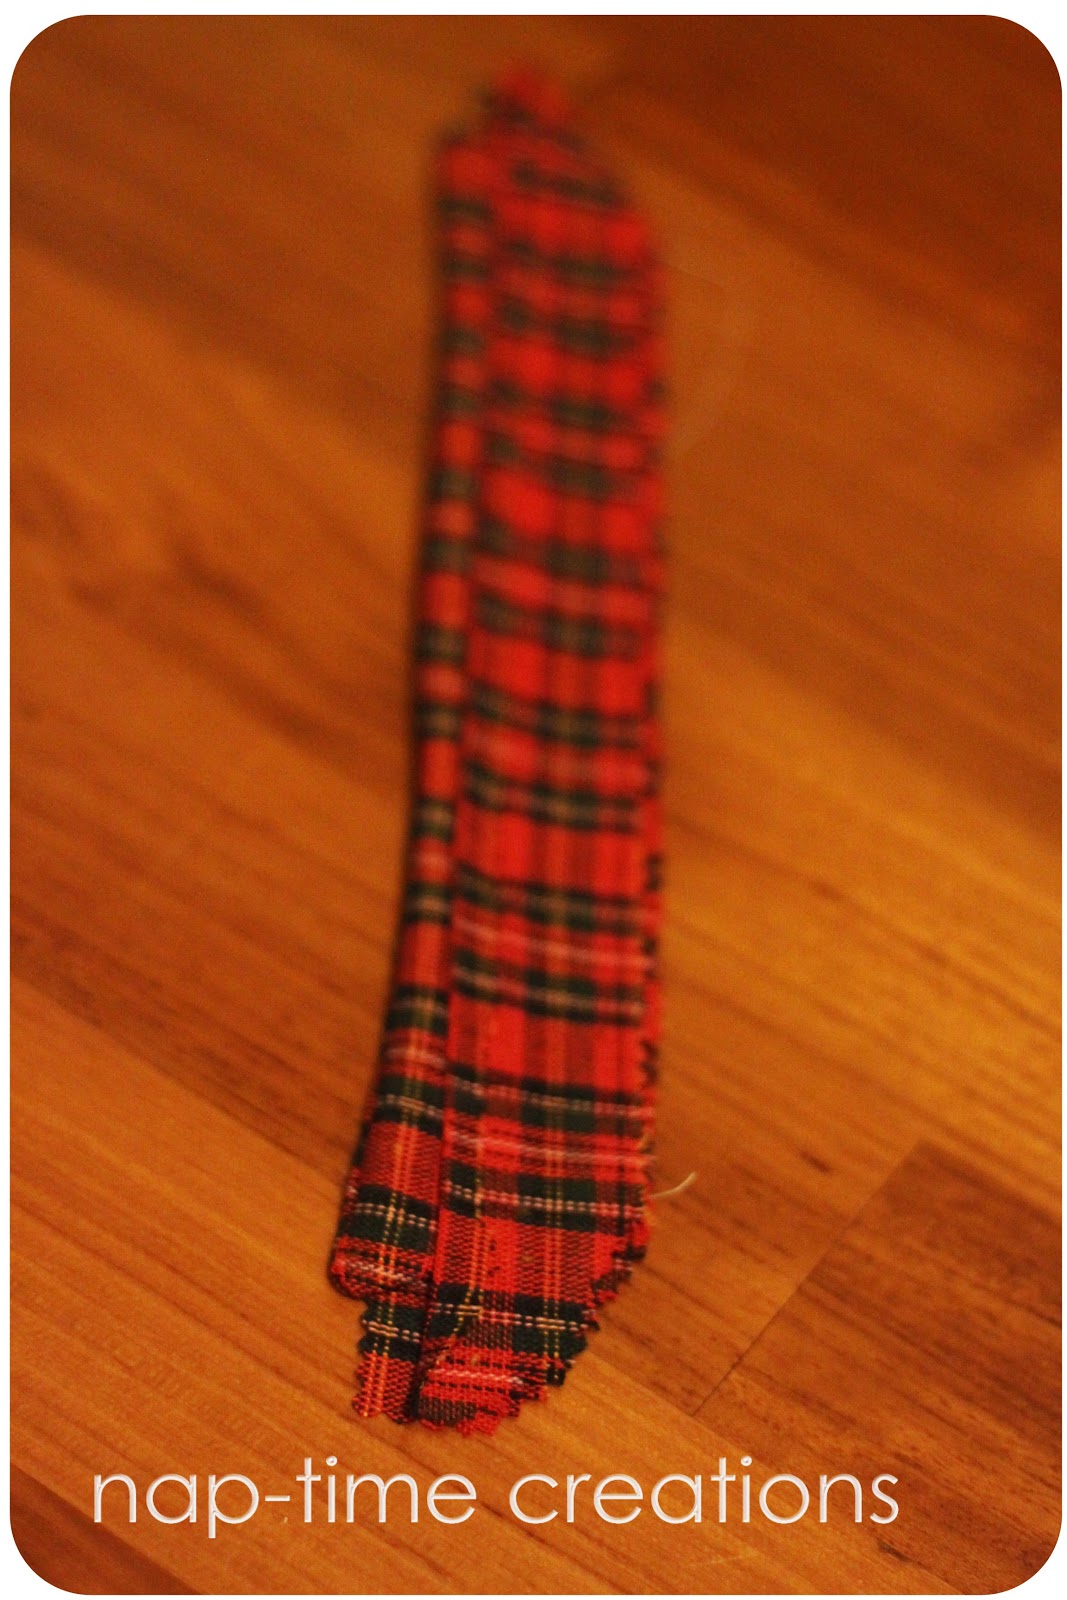
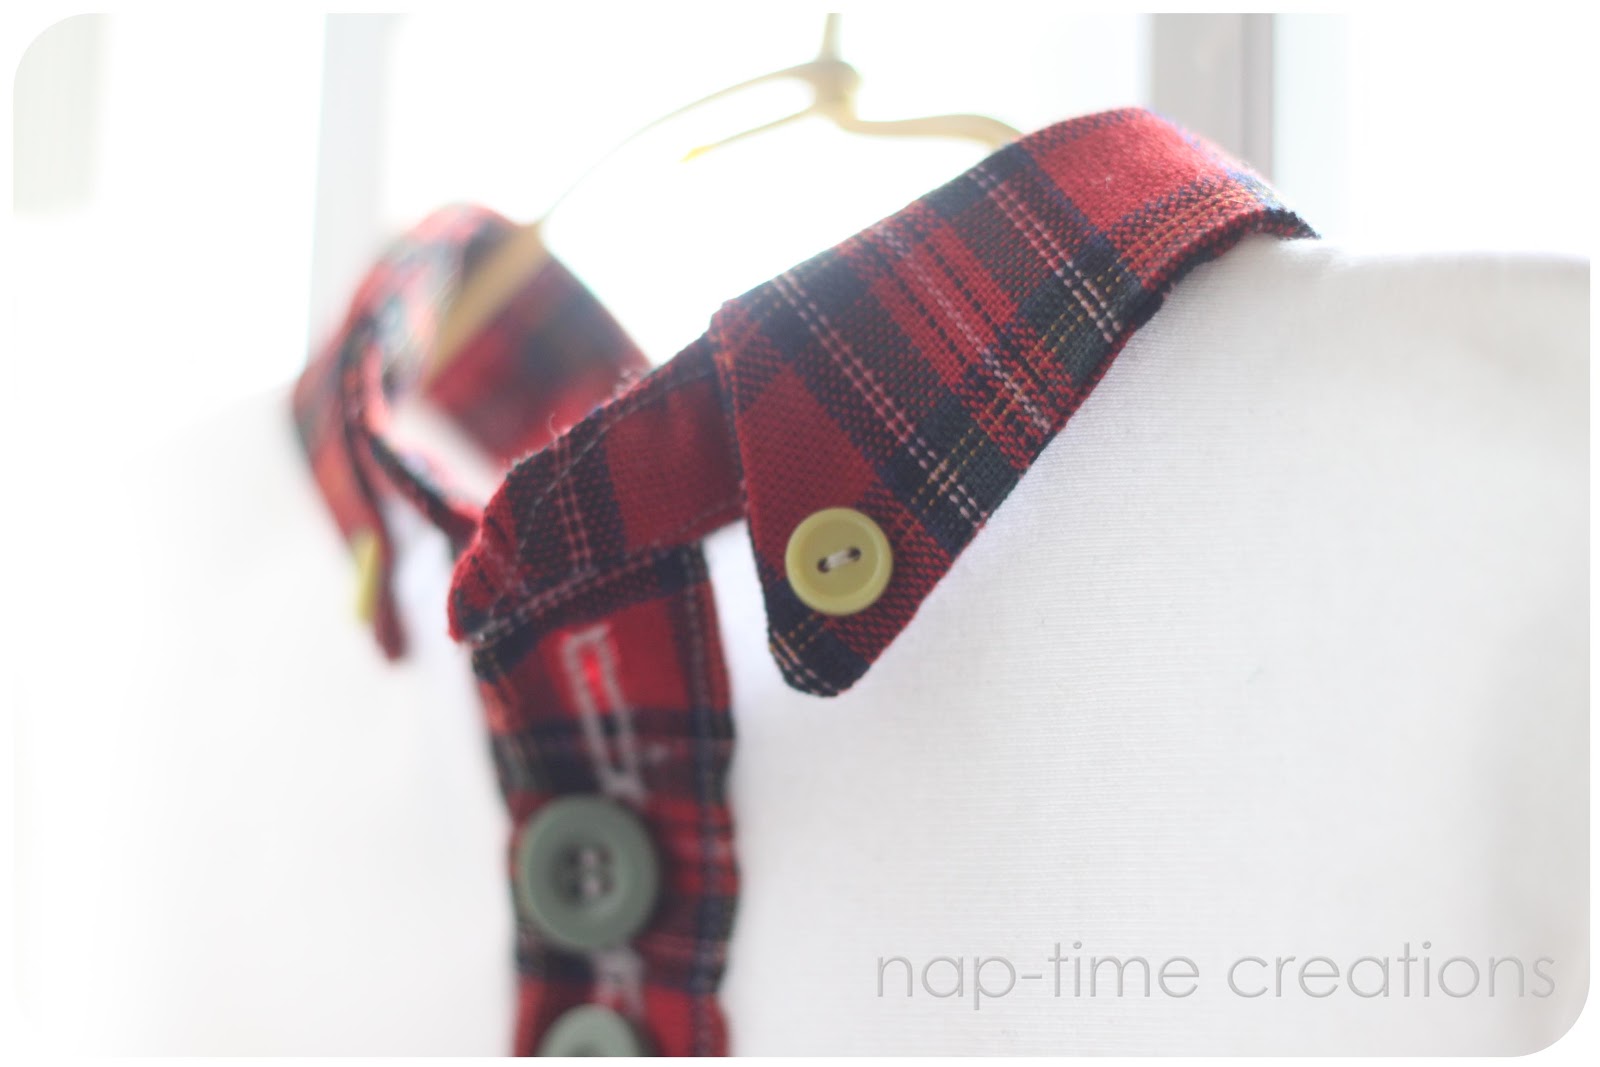
1. Sew the long sides and ends of the collar, clip corners, turn, iron


I used this tutorial from Little Kids Grow to get started with the one piece placket.
I used a collared shirt that I already had for a basic pattern. However, you can just use the shirt that you are adding the collar to as a reference for size. You want the collar to come all the way around to the edge of the placket and the collar stand to cover the placket (the stand is longer than the collar).
here we go…
1. Sew the long sides and ends of the collar, clip corners, turn, iron

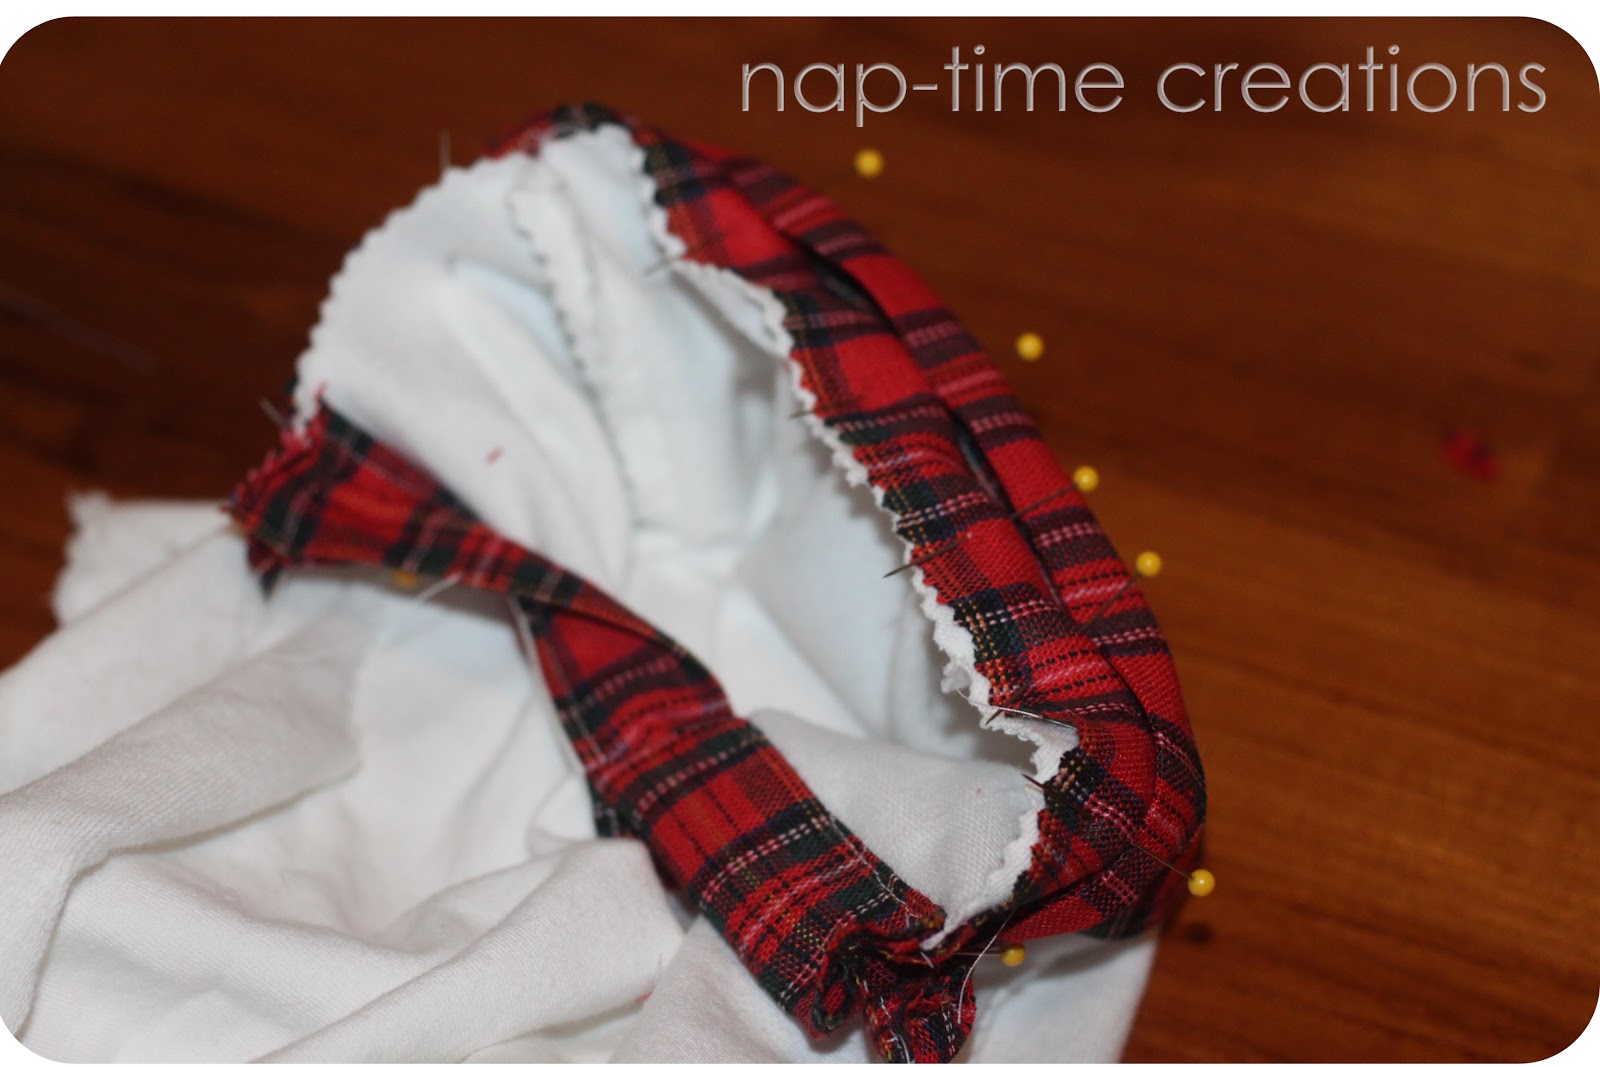
2. Turn up and iron one side of collar stand 1/3 inch

3. Made a collar sandwich: un-ironed stand, collar and ironed-up stand sew
Now it looks like this…(should I have matched the plaid???)

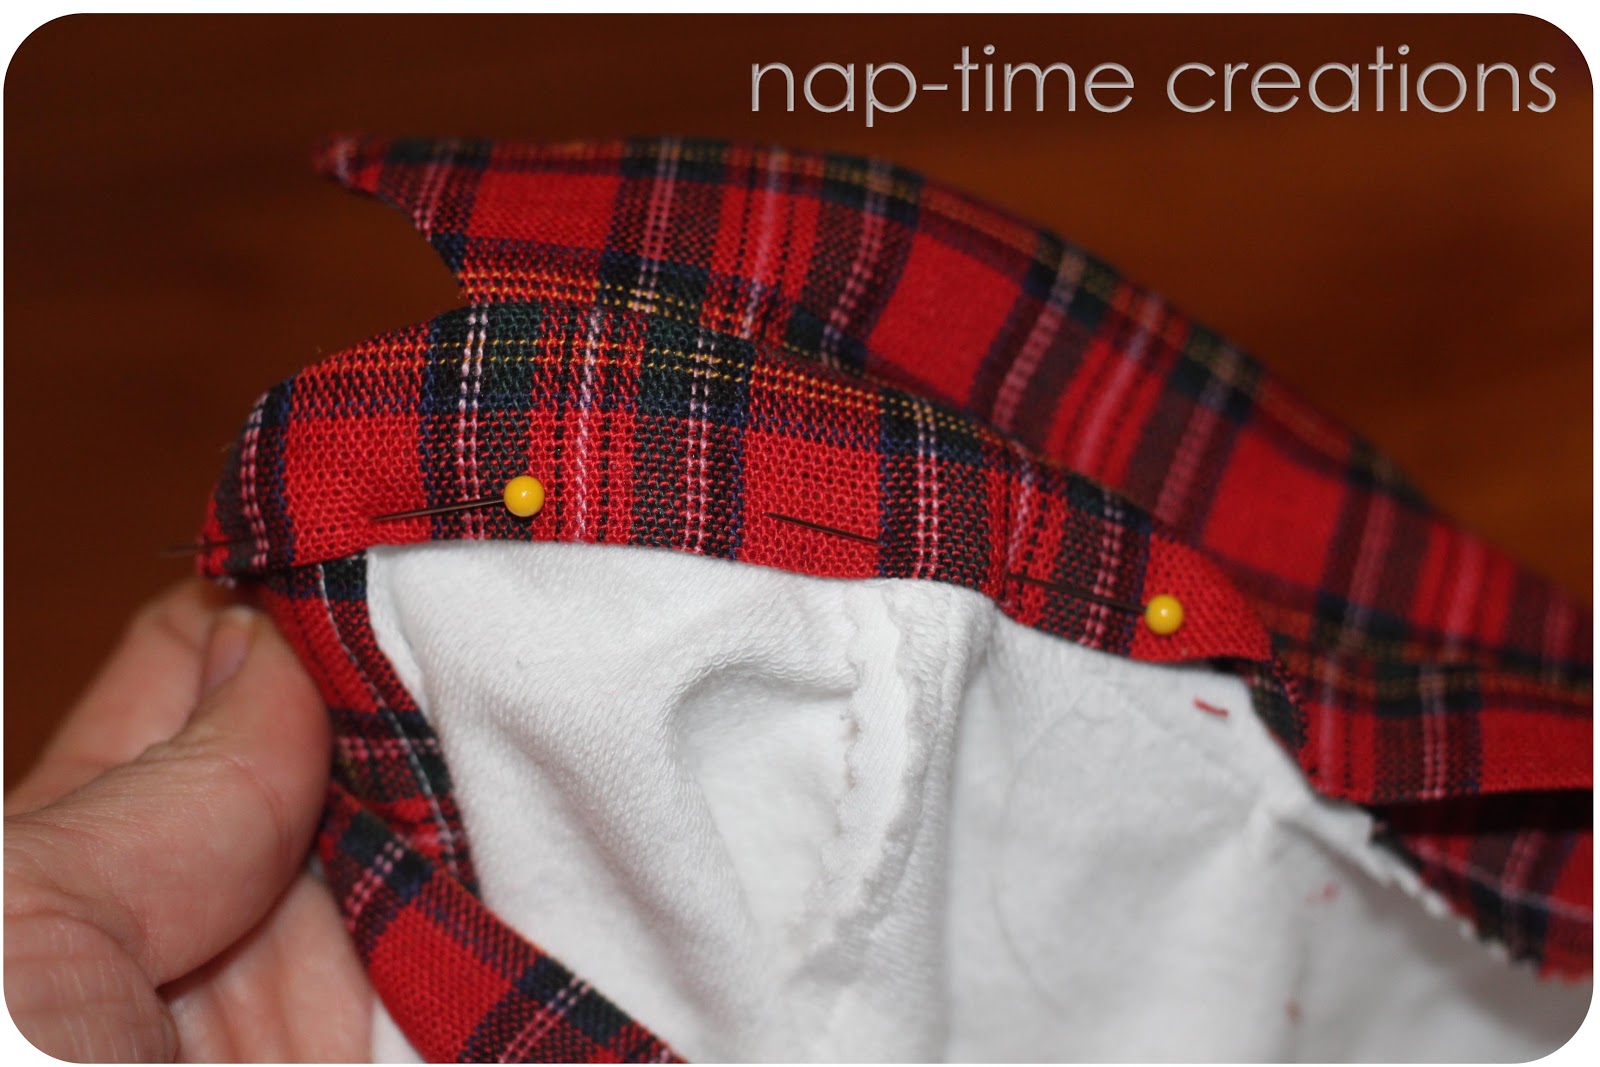
4. Open up the collar stand and pin un-ironed up side on the right side of shirt. Sew single layer of stand and shirt together

5. flip over the collar and pin the ironed edge of the stand over the seams around the top of shirt. make sure to cover the seam, then sew.
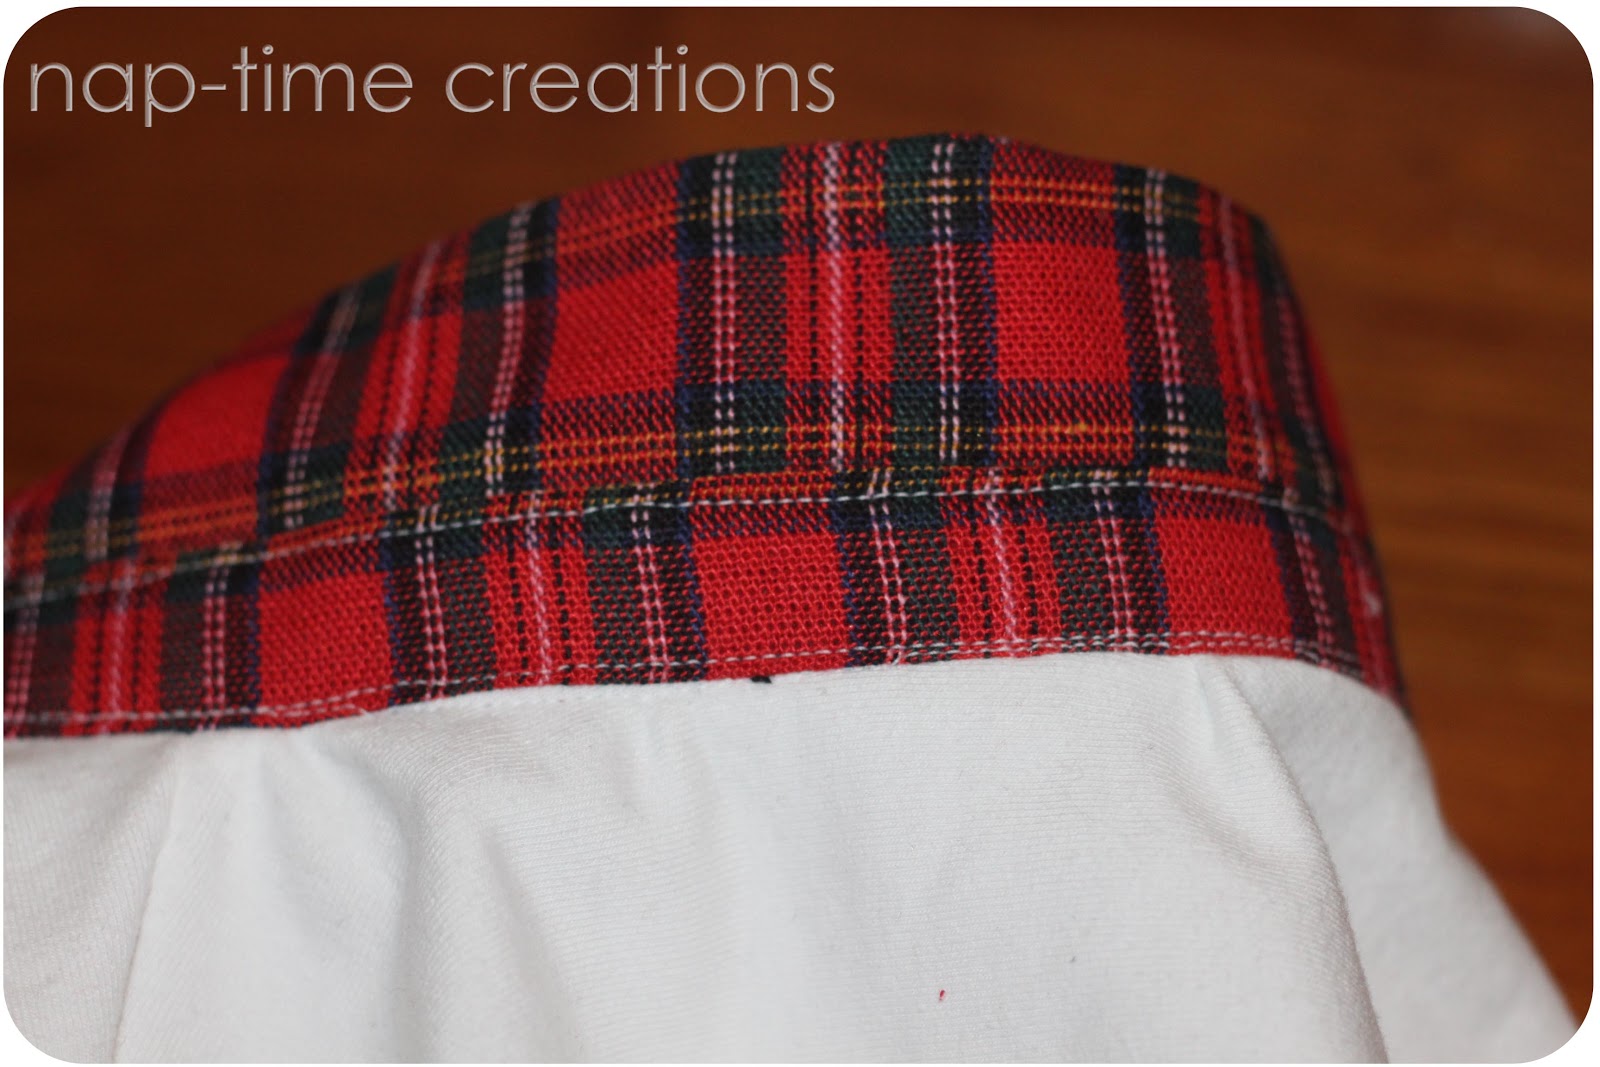
top stitch as desired…

add buttons as you want…. let’s just say I ripped out a lot of button holes before I got them at least decent….AHHH

And now for the sad story…. when I was working the placket I dripped water from the iron and noticed the red started to bleed onto the white. I had pre-washed the fabric, but only once. I should have washed it a few times! Because I was aware they may not wash well, I had the boys wear the shirts three times before I washed them….
Christmas service here in Hong Kong the week before Christmas.
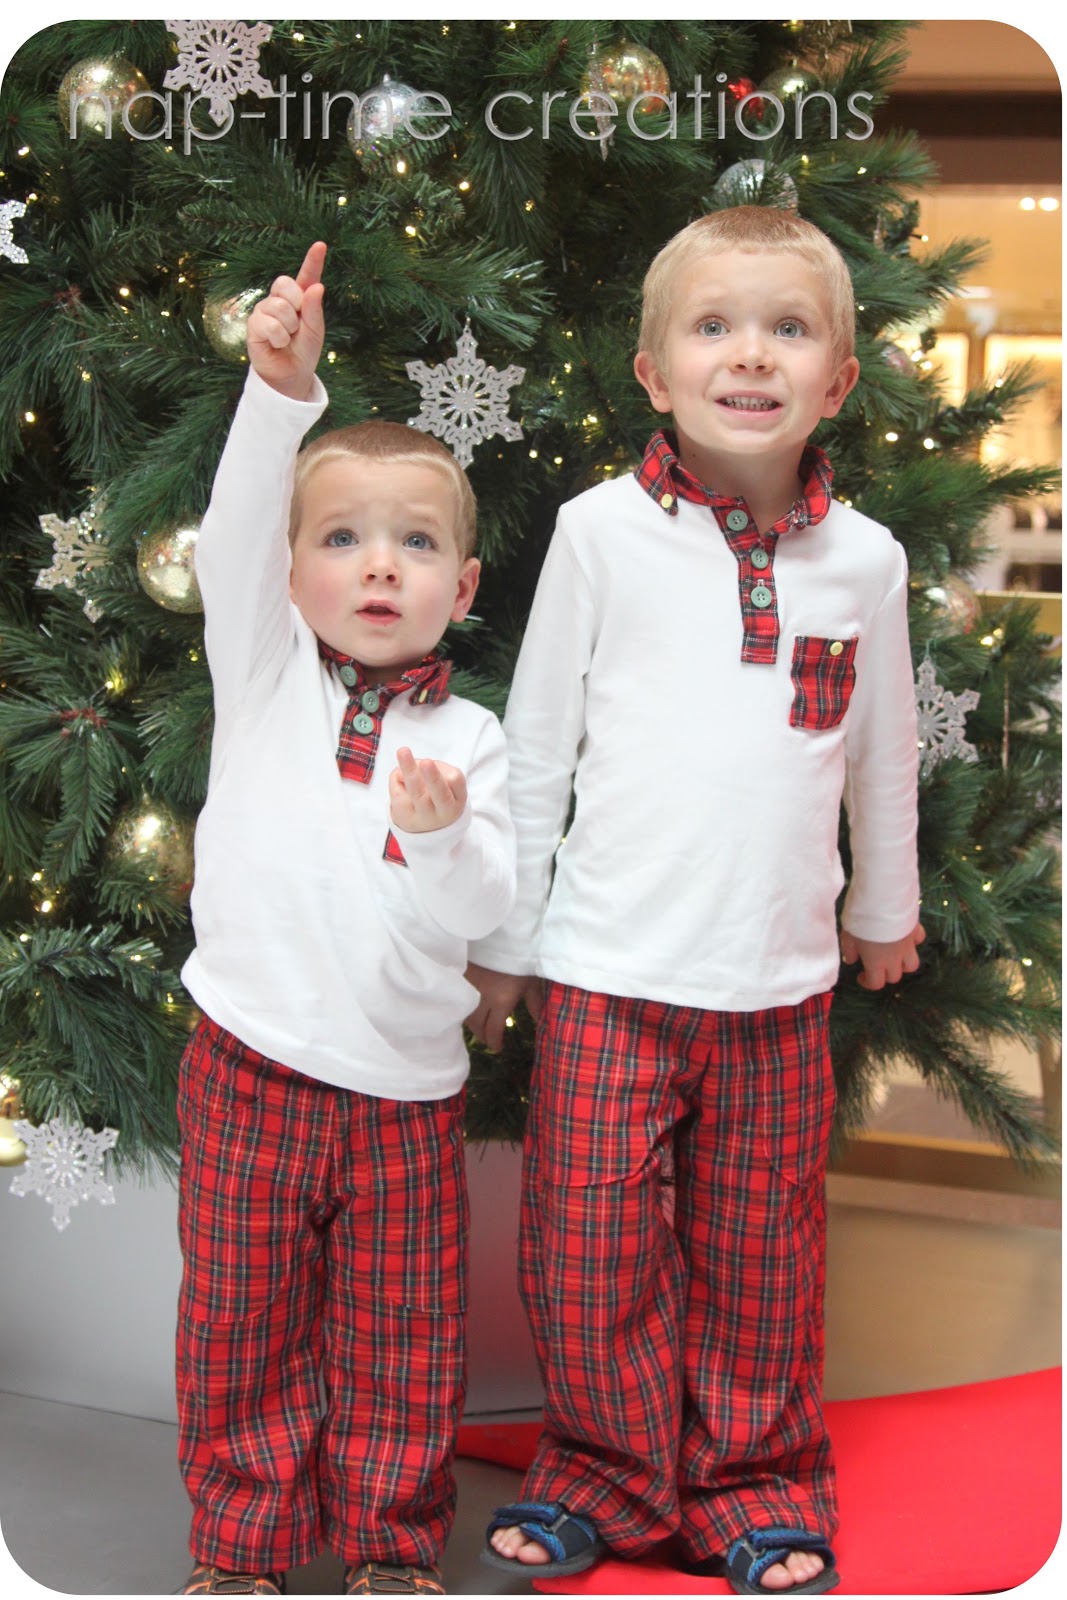
And Christmas Eve service and morning in the US. No eating took place in the shirts!


After all the wearing, they really needed to be washed… so I put them on a cold cycle and crossed my fingers. The result…. VERY PINK, VERY BLOTCHY shirts…. so sad…
We still have the pants though and I have learned my lesson about colored collars on white shirts. pre-wash, pre-wash, pre-wash….!!!
Have you sewn a collared shirt? This is the perfect boys collar tutorial to get you started if want to give it a try.

![]()
Looking forward to seeing you around the blog…. don’t be a stranger!


Shannon says
This looks great, Emily!!! Yay!!!!
Huckleberry Love says
Oh my goodness! These are gorgeous shirts. I would have thought you bought them! Your boys look adorable in them. I also have two boys and would LOVE to create something like this for them. 🙂 New follower on Pinterest, GFC and FB. Would love for you to return the favor!
Visiting from Someday Crafts.
~Emily (same name, must be fate!)
http://www.huckleberrylove.com/2013/01/aviation-themed-baby-shower.html
Andrea from The Train To Crazy says
The collar is so cute! Love them. Great idea!!
Carrie @ My Favorite Finds says
Oh well, they were cute while they lasted, right? Thanks for sharing at PInworthy Projects!
Tanya-Lemonsforlulu.com says
How cute are your boys in those shirts!! Oh my gosh! At least you got that adorable picture before the bled through. Good advice though! Thanks for sharing at One Creative Weekend!
Jenni says
What if you dyed them a dark color? Maybe a dark green? It might change the plaid, but you could dye the pants, too. So sad. Hope you can save them!
Chelli says
Love those collars and the different buttons. Have tried a collar from scratch once and it was perfect but goodness knows how it happened.
D and G Stories says
I would have cried too 🙂 I had such a hard time with the placket, didn’t even attempt the collar! You make it look so easy. Thanks for the tutorial.
Rose :: Fine Craft says
Wow, Emily, that looks great. This is a project way beyond my skills, so I won’t even try, but good for you that you did.
Btw. could you be so kind so as to update our link back from http://www.finecraftguild.com/party/ to http://www.finecraftguild.com instead. I would love it if you would (no need to publish this private message)
sweeter than cupcakes says
Great new detail for those shirts!
Upstatemamma says
Those are some super cute Christmas jammies. 🙂
Jackie B says
Such a great idea! I was trying to think of how to coordinate my kids’ Christmas clothes this year. You have helped me so much!
derivingmommyhood says
Love it! I definitely need to try this.
Crafty cougar says
Love the shirts. Whenever I am washing a doubtful new garment that I think could run I put a small handful of salt in with the wash. It generally works very well as it will set the colour.
Emily says
oh that is a great tip!!! I’m going to use that for sure. I just had a major incident this week accidentally dying my husbands white shirts pink… ahhh!!! Thankfully I got it bleached out ;o)